
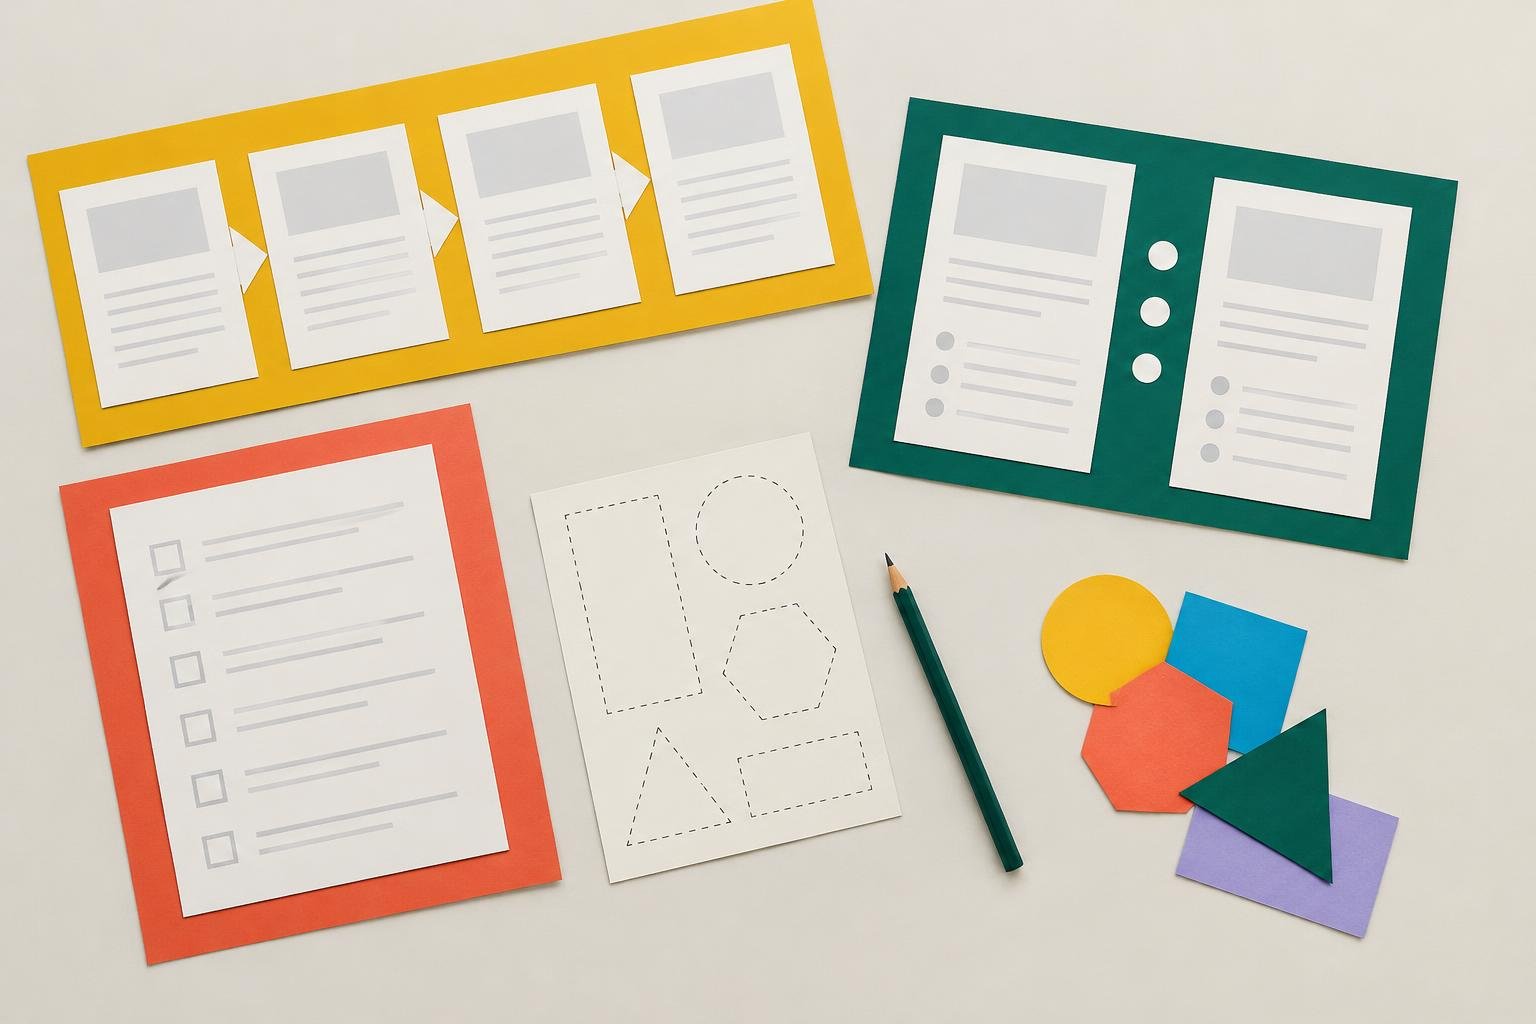
A blog post template gives you a repeatable starting point for drafting, but it shouldn’t dictate every sentence. The best template reminds you what a useful article needs, from a clear answer to practical next steps, while leaving room for the details that make each post original.
Building one takes more than copying the same headings into every draft. You need to consider the search intent, the kind of article you’re writing, and the questions a reader needs answered. This guide walks through a practical process for creating a template, adapting it to different post types, and using it without making your blog feel repetitive.
What a blog post template should do
A template is a reusable outline or draft structure. It may include prompts, headings, formatting reminders, and a publishing checklist. It is not a finished article with blanks to fill in mechanically.
A useful template helps you:
- Start drafting without facing a blank page.
- Cover the essential questions readers expect the article to answer.
- Keep recurring content consistent, such as product reviews or tutorials.
- Remember editing and publishing tasks that are easy to miss.
It should not force every topic into an identical sequence. A beginner’s how-to article may need numbered steps, while a product comparison may need clear evaluation criteria. Treat the template as a flexible checklist, not a rulebook.
How to create a blog post template step by step
1. Choose one post type to standardize
Start with a format you publish often or expect to publish regularly. Common options include tutorials, list posts, product reviews, case studies, and opinion pieces. Don’t try to design one outline that handles every possible article. A template for one recognizable format is easier to test and improve.
For example, a tutorial template could prompt you to explain the result, list prerequisites, show the steps, address common problems, and suggest what to do next. A review template would need a different structure, including the intended user, evaluation criteria, strengths, limitations, and alternatives.
Look through your existing posts and identify which articles share a purpose. If you’re still deciding what topics and formats to publish, a blog content strategy can help you spot recurring themes and reader needs.
2. Define the reader’s task
Before writing headings, finish this sentence: “After reading this, the reader should be able to…” Make the answer specific. “Understand email marketing” is broad. “Choose a welcome email sequence and draft its first message” gives you a clearer target.
Then note what the reader already knows and what might get in the way. A beginner may need terms defined and setup steps explained. An experienced reader may need a decision framework, trade-offs, or a faster workflow instead.
This step keeps the template focused on the reader’s job rather than a predetermined word count or a list of keywords. When researching a topic, you can also use blog keyword research to understand the language people use and the kinds of questions they ask.
3. Map the article’s core sections
Write down the information a complete article needs to provide. Arrange it in the order a reader is likely to need it. A practical tutorial outline might look like this:
- Opening: State the problem, who the instructions are for, and what outcome to expect.
- Preparation: List tools, access, materials, or knowledge the reader needs first.
- Steps: Explain the process in a logical order, including details that could cause confusion.
- Troubleshooting: Cover common mistakes, exceptions, or ways to check the result.
- Next action: Give the reader a useful follow-up task or related resource.
These are prompts, not mandatory headings. If a particular article needs no preparation section, remove it. If readers need a decision guide before the instructions, add one. The template should make relevant information easier to include, not create empty sections.
4. Add prompts that lead to useful detail
Broad headings can still produce vague drafts. Add short questions beneath them to remind yourself what to explain. Under “Steps,” for instance, include prompts such as:
- What action should the reader take?
- What should they see after doing it?
- What mistake is easy to make at this point?
- Is there a safer or simpler alternative?
Prompts work best when they reflect real reader needs. Avoid instructions like “add more detail” or “include keywords.” Those don’t explain what information belongs in the article. Instead, ask for a concrete example, a reason behind a recommendation, or a condition that changes the advice.
5. Include writing and SEO reminders
Add a compact set of reminders to the template so good habits are visible while you draft. For example:
- Answer the main question early, after a brief orientation for the reader.
- Use descriptive headings that help readers scan and find relevant sections.
- Explain specialized terms the first time they appear.
- Use the target phrase naturally where it fits, rather than repeating it in every section.
- Link to a relevant existing article when it genuinely helps with the next question.
Keep this section short. A template crowded with SEO instructions can distract from the article itself. Search optimization should support clear answers and useful structure, not dictate awkward wording.
6. Add an editing and publishing checklist
Drafting and quality control are different tasks. Put a short checklist at the end of the template so you can review the article after the main writing is done. Include checks that match your process, such as:
- Does the article deliver the result promised in its title?
- Are instructions complete enough for the intended reader?
- Have you removed repeated points and unsupported claims?
- Do links go to relevant pages, and do their anchor words describe the destination?
- Are images useful, properly described, and sized appropriately for the page?
- Have you checked the final draft on a small screen?
Some checks may belong in your content management system or editorial workflow rather than in the writing document. Keep the template focused on tasks that are easy to forget at the point of use.
Example: a reusable how-to article template
Copy this outline into your draft and adapt it to the specific question. The bracketed notes are prompts, not text to publish.
- Working title: Describe the task and the result.
- Reader and outcome: Who is this for, and what will they be able to do?
- Introduction: Name the problem, set expectations, and offer a brief answer or direction.
- Before you begin: List any tools, accounts, materials, or prerequisites.
- Step 1: Give the action, explain why it matters, and show what success looks like.
- Step 2: Continue in order, noting decisions or common errors.
- Step 3: Finish the process and explain how to verify the outcome.
- Common problems: Address likely snags and what to try next.
- Next step: Recommend one relevant action or resource.
- Final review: Check accuracy, clarity, links, formatting, and publication details.
For a short task, three numbered steps may be enough. A complex process may need sections for different situations or skill levels. Add only the material that helps readers complete the task.
Adapt templates to the content type
Use separate templates when articles have different goals. A few examples show how the structure can change:
- List post: Set a selection standard, group items logically, and explain who each option suits. A bare list of names rarely helps readers choose.
- Product review: Describe the intended audience, how you assessed the product, its useful features, its limitations, and who may prefer an alternative.
- Comparison: Establish the decision criteria first, compare options on those criteria, and finish with guidance for different reader needs.
- Case study: Explain the starting situation, the choices made, the process, the outcome, and what someone else can reasonably learn from it.
Use the formats as starting points, not fixed formulas. A review based on personal experience may need a first-person account, while a comparison of services may be clearer with short sections for each selection factor. The reader’s decision should determine the shape.
How to keep a template from making posts sound alike
Repetition usually comes from treating every prompt as a required section. Avoid that by labeling parts of the template as required, use when relevant, or optional. A clear answer and accurate instructions may be essential in a tutorial; a recap section may not be.
Vary the opening according to the reader’s situation. One article may begin with a direct answer, while another may need to explain a common misconception before offering advice. Likewise, don’t add a conclusion that simply repeats every heading. End with a useful decision, next step, or caution when the subject calls for it.
Leave room for evidence and specificity. A template can prompt you to include an example, but the example should come from the topic and be explained in context. It shouldn’t be the same generic scenario in every post. The outline organizes the material; your research and judgment make the article distinctive.
Test and improve your template
Use the first version on a few posts before deciding it’s finished. After each draft, note where the outline helped and where it slowed you down. Did you repeatedly delete a section? Add the same missing prompt? Need a separate format for a different reader goal?
Make adjustments based on those patterns. Remove fields that don’t change the quality of the article, and add prompts when they prevent a real omission. Store the template somewhere easy to find, give it a clear name, and keep one untouched master copy so new drafts start clean.
A good blog post template saves setup time while leaving the important work to you: understanding the reader, making sound recommendations, and explaining the subject clearly. Start with one format, use it on real articles, and let experience shape the next version.