
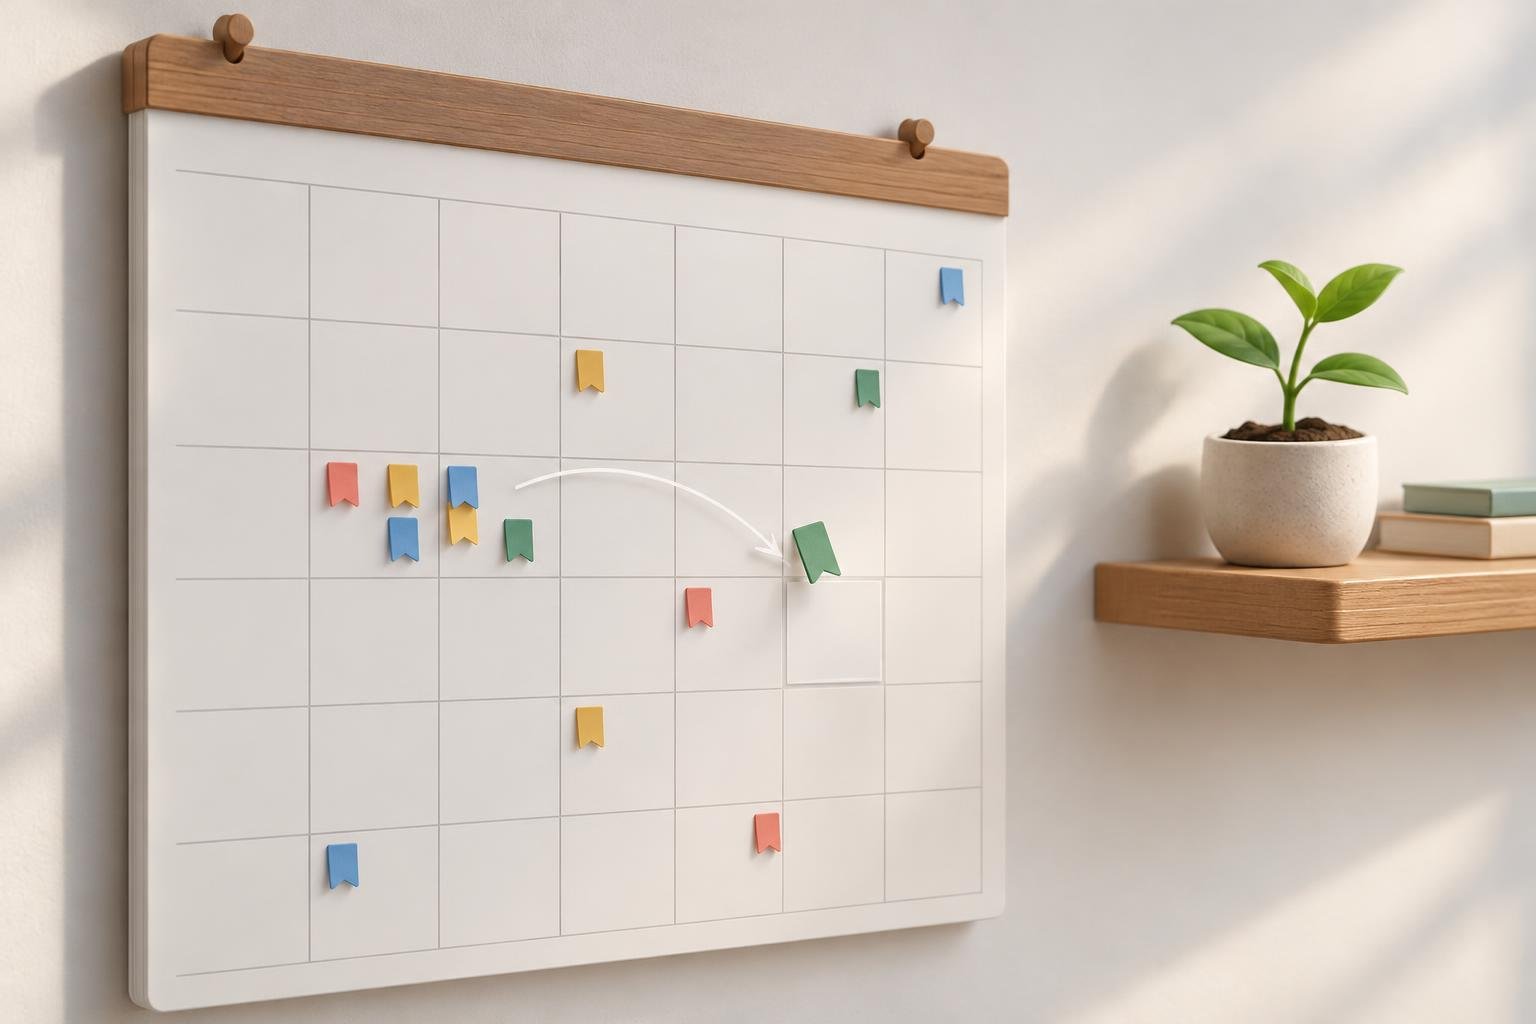
A blog editorial calendar helps you decide what to publish, when to work on it, and how each post supports your goals. It doesn’t need fancy software or a year of ideas mapped out. A simple, regularly updated plan can make publishing easier to manage and help you avoid choosing topics at the last minute.
The most useful calendar is one you can keep current. Start with a small planning window, include only the details that help you take action, and leave room for changes. Here’s how to build a practical system for a new or growing blog.
What a blog editorial calendar should do
Your calendar is a working plan, not a promise that every post will go live on a fixed date. It should answer a few basic questions:
- What topic are you working on?
- Who is the post for, and what question will it answer?
- What stage is the post in?
- What needs to happen next, and by when?
Some bloggers use a spreadsheet, while others prefer a calendar app, project board, or a basic table in a notes tool. The format matters less than being able to see the plan, update it quickly, and find your next task.
A calendar can also connect individual posts to a larger publishing direction. If you haven’t established that direction yet, first outline the topics and reader needs in your blog content strategy. The calendar then turns that strategy into work you can schedule.
Choose a publishing pace you can sustain
Before adding topics, decide how often you can realistically publish. Consider the full job behind a post: research, outlining, drafting, editing, images, WordPress formatting, and promotion. A short article still takes time to prepare well.
Look at the hours you can set aside in a typical week. If blogging is a side project, one strong post every two weeks may be more manageable than a weekly deadline that keeps slipping. If you have help or can dedicate more time, you might publish more often. There isn’t one correct schedule for every blog.
Use a trial period rather than treating your first decision as permanent. Plan for four to eight weeks, then check whether the pace fits your available time and quality standards. If the work regularly runs late, reduce the frequency or make more room for drafting and editing. A dependable schedule is easier to work with than an ambitious one you can’t maintain.
Set up a simple calendar with useful fields
Start with a spreadsheet or board and create one row or card for each planned post. Add fields that help you make decisions and move work forward. You can begin with these:
- Working title: A clear placeholder is enough while the idea develops.
- Reader question: State the problem or task the post will address.
- Topic or category: Use your existing blog categories to keep the mix visible.
- Primary search phrase: Record the main query or topic you’re targeting, if search traffic is part of the plan.
- Format: Note whether it will be a tutorial, checklist, review, comparison, or another format.
- Status: Use a small set of stages such as Idea, Planned, Drafting, Editing, Ready, and Published.
- Next action: Write one specific task, such as “compare three beginner options” or “add examples to the outline.”
- Target publish date: Set a goal date, not a reason to rush unfinished work.
- URL: Add the live address after publication so you can find the post later.
Don’t add every possible column just because your tool allows it. Details such as several approval stages, multiple keyword fields, or social captions may be useful for a team, but they can slow down a solo blogger. Add a field only when it helps you make a choice or complete a task.
Fill the calendar with a balanced set of ideas
A list of ideas becomes a useful plan when you decide which ideas deserve attention first. For each candidate topic, ask whether it fits your blog, solves a clear reader problem, and can be handled with the time and knowledge you have. Then compare topics for urgency, usefulness, and how well they connect to your other content.
Try grouping related posts into a small topic cluster. For example, a home gardening blog could plan a foundational guide to container gardening, followed by posts about choosing containers, watering plants on a balcony, and troubleshooting common problems. The related posts give readers a path to explore, while the main guide can link to useful supporting articles once they’re published.
Make room for different kinds of content when they serve your readers. A practical mix might include:
- Foundational guides that explain a broad subject.
- Specific tutorials that solve one focused problem.
- Comparisons that help readers choose between options.
- Seasonal or timely posts, when the topic genuinely calls for them.
Don’t force variety for its own sake. If readers need several related tutorials, that can be a stronger plan than alternating formats mechanically. The goal is to cover useful questions without publishing the same post repeatedly.
Turn each idea into a workable assignment
A vague calendar entry such as “write about gardening” is hard to act on. Before scheduling the post, describe its scope. Write down the intended reader, the main question, and what the reader should be able to do after reading.
For instance, “watering plants” could become “show apartment gardeners how to tell when a potted basil plant needs water.” That angle makes it easier to identify what research is needed, what examples belong in the article, and what should be left out.
Check that the post has a distinct purpose from other articles on your site. Search your own blog for similar topics and note whether the new idea fills a gap, updates an existing resource, or needs a different angle. This can help prevent two posts from competing for the same reader question.
For a post that is ready to draft, create a brief assignment with a working title, a few planned sections, relevant sources to consult, and any examples or images you’ll need. If you already use a repeatable article structure, a blog post template can make that preparation faster.
Plan backward from publication day
A publish date is more useful when it has smaller milestones behind it. Work backward and give the post time for each stage. A simple sequence might be:
- Topic approved: Confirm the reader question and angle.
- Research and outline: Gather reliable information and decide the article’s structure.
- First draft: Write the complete article without trying to polish every sentence as you go.
- Revision: Check clarity, completeness, examples, and unnecessary repetition.
- WordPress preparation: Add headings, links, images, and formatting, then preview the post.
- Final check and publish: Review the page on desktop and mobile, confirm links, and publish when it’s ready.
Give tasks dates that match your real working time. If you can only write on weekends, a draft deadline in the middle of a busy workday won’t help. Leave a buffer before the target publish date for unexpected delays or a revision that takes longer than planned.
For a new blogger, milestones can also reveal where the process slows down. If research often takes longer than expected, set a narrower research task. If formatting becomes a bottleneck, reserve a separate block of time for it instead of squeezing it into the drafting session.
Keep the calendar flexible and up to date
Review the calendar once a week. Move each active post to the right status, update its next action, and check whether the upcoming workload is still realistic. This short review keeps old dates and abandoned ideas from making the calendar harder to trust.
When plans change, reschedule the work rather than treating a missed date as a failure. A post may need more research, a reader question may become less relevant, or another task may take priority. Note the reason if it will help you plan better next time, then choose a new next action.
Keep an idea backlog separate from scheduled work. The backlog is a place to capture possibilities without pretending you’ve committed to all of them. Once a month, review those ideas, remove ones that no longer fit, and promote a few into the active calendar. This gives you options without crowding the schedule with unfinished plans.
Use the calendar to learn, not just to publish
After a post goes live, mark it as published and save its URL. You can also record a few useful follow-up details, such as whether it needs a supporting article, an internal link from an older post, or a future accuracy check. Keep these notes focused so the calendar stays usable.
Review your publishing plan every few months. Look for practical patterns: Which topics were easiest to complete? Which assignments repeatedly needed more time? Are there categories with too many planned posts and others with important reader questions still unanswered? Use what you learn to adjust the next planning window.
A blog editorial calendar works best when it reduces uncertainty without removing flexibility. Choose a realistic pace, give each post a clear purpose, and track only what helps you take the next step. Start with a few weeks of work, review the system regularly, and expand it only when a real need appears.